As a landlord you have to perform several kinds of property inspections throughout a tenancy. Conducting a tenant walk-through inspection is key to protecting your bottom line. When you do a proper initial walk-through inspection of your rental property with a new tenant, you may be able to minimize the risk of damage and foster a better landlord-tenant dynamic.
However, to maximize the potential benefits of an initial walk-through inspection, planning is key. The following are some key things to keep in mind:
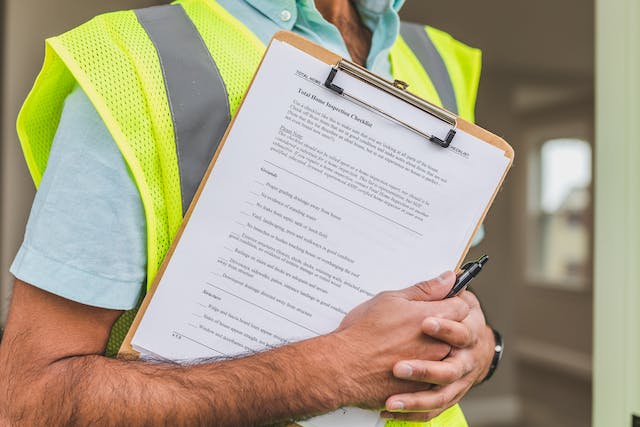
Create a Walk-through Form or Checklist
On the form, you’ll want to list every room and all its components. This will allow you to take note of everything’s existing condition. Begin by listing every room. Next, divide every room into its components. The components can include elements like doors, walls, floors, sinks, windows, ceiling fans, and light fixtures.
You may also want to leave a few black lines to list any additional items that you might have forgotten. You should divide the form into several columns to help you with the recording. The columns should help you collate information on the move-in condition, move-out condition, and cost estimate for repairs.
Finally, at the bottom of the form, leave a line for you and the tenant to sign and date it. Give the tenant a copy and keep another for record-keeping purposes.

Do the Walk-through Inspection with the Tenant
Before the tenant can move into the property, make sure to schedule a time for both of you to inspect it. This should also include anyone else listed on the lease. By allowing the tenant(s) to take part in the inspection exercise, you’ll be able to:
- Set your expectations. You can use the opportunity to help clarify to the tenant what exactly constitutes damages and normal wear and tear.
- Minimize potential disagreements on the property’s condition when the tenant eventually moves out.
Simplify the Process
Keep the process as simple as possible. If during the inspection you keep pointing at every imperfection, the tenant may think that you’ll find any reason to hold them liable for repairs. Ideally, an initial tenant walk-through inspection should take no more than 20 minutes.
Take Photos or Film During Inspection
In this day and age, most smartphones will have decent cameras for good photos and videotaping capabilities. This makes it much easier to document the condition of the property.
As you take photos of your rental property, make sure to enable the date stamp feature. Doing this will ensure that there is no confusion as to who caused the damage during the final inspection. Also, backup the photos either online or on a hard drive. In addition to photos, consider videotaping the space as well.

Having photos, videos and written documentation of the property’s conduction will help you and your tenants clearly differentiate between normal wear and tear and property damage at the end of the tenancy.
Inspect the Property Beforehand
A thorough initial tenant walk-through inspection goes beyond just looking for stains and scuffs. As such, take time to thoroughly go through the property to test every element and look for things that may require repairs. Do the following:
- Check for leaks, drips, and water pressure
- Test the lights and look for exposed wires or flickering
- Test all appliances and check for any issues
- Ensure the heating and cooling systems work as they should
- Look for stains, holes, dents, scratches, or loose tiles
- Check how doors and windows operate
- Verify the working of safety features, such as fire extinguishers and smoke detectors
Finally, don’t forget to do the same process during the final walk-through before the tenant moves out.
Understand Your Landlord-Tenant Laws
The state’s landlord-tenant law determines what you can and cannot do and include your rights and responsibilities when it comes to a walk-through inspection. Under North Carolina law, when it comes to inspections, landlords have the following rights under Chapter 42 of the state’s General Statutes, a right to:
- Conduct a walk-through inspection of the property, both at the start and end of the tenancy.
- Enter the property to inspect it. State law doesn’t, however, specify how much notice a landlord must give a tenant before entry.
- Make appropriate security deposit deductions for damages exceeding normal wear and tear.
- Draft a lease that may specify repair responsibilities for tenants.

When it comes to responsibilities, the following are some of the obligations you have under state law:
- Provide the tenant with habitable living conditions
- Make repairs whenever requested. North Carolina requires landlords to make requested or needed repairs within a “reasonable time.” If you fail to do so, the tenant may be able to take certain legal actions.
It’s important to understand the state’s landlord-tenant laws before renting out a property. If you are not knowledgeable of your legal responsibilities, consider hiring an expert property manager.
Allow the Tenant Time to Discover Additional Issues
After the inspection, allow the tenant some time to find any additional issues. The dishwasher, for instance, might start okay. However, a couple loads, the tenant may find that its drainage is faulty. Equally, it may take the tenant a few days to discover the cabinet is broken after opening it to put in dishes.
As such, give the tenant about three days after the initial walk-through inspection or their move-in date to find additional issues. If the tenant does find something, make sure to document it.
Bottom Line
Conducting a tenant walk-through inspection is a no-brainer. You’re not only able to document the property’s condition, but also set clear expectations for the tenant regarding the property’s maintenance.
For expert help in managing your rental property, look no further than Schambs Property Management (https://www.spmtrianglerentals.com/). We can help manage and grow your investment to significant levels. Get in touch to learn more!